In a world flooded with AI-generated images and filters that simulate just about anything, there’s still something magical about capturing a long exposure shot the traditional way — with real light, real time, and real intention.
That’s where Neutral Density (ND) filters come in — and why they’re an essential tool on my photo workshops.
What Are ND Filters and Why Do We Use Them?
Neutral Density filters are like sunglasses for your lens. They reduce the amount of light entering the camera, allowing you to use slower shutter speeds, even in broad daylight. This gives you full creative control over the passage of time in your images.
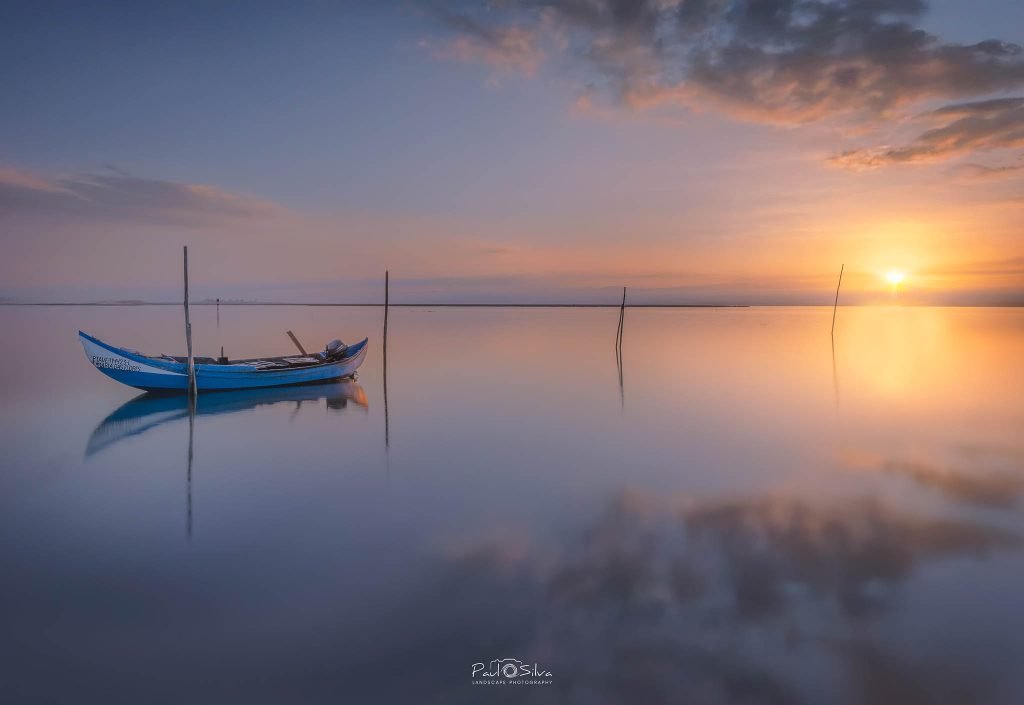
With a 6-stop ND filter, you can shoot at shutter speeds of 1 to 4 seconds during daylight — perfect for capturing the smooth flow of water, gentle motion in clouds, or soft movement in fields of grass.
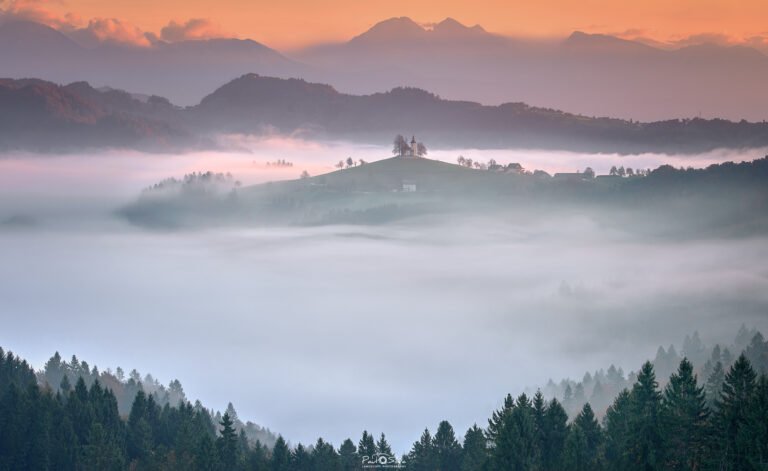
A 10-stop ND filter takes it further — allowing exposures of 15 seconds, 30 seconds, even several minutes. The result? Dreamlike seascapes, skies with streaked cloud movement, and scenes where people and distractions simply vanish.

What About Graduated ND Filters? Why They Matter Too.
While solid ND filters help control the overall exposure, Graduated ND filters (GNDs) are all about balancing light across a scene — especially in landscapes with strong contrast between sky and foreground.
There are different types of GNDs, and each serves a specific purpose:
Medium GND Filters
These have a gentle transition from dark to clear and are ideal when the horizon isn’t perfectly straight — think of mountains, rolling hills, or city skylines.
- When to use it: Sunset or sunrise over a varied landscape where the sky is much brighter than the foreground.
- What it does: Keeps detail in the sky without underexposing the land. Helps avoid overblown highlights.
- What you’ll learn: How to position the grad line with precision, and how to adjust your composition so the filter blends naturally.

Reverse GND Filters
These are darkest at the center and gradually become lighter toward the top — designed specifically for sunsets or sunrises when the sun is right on the horizon.
- When to use it: When the sun is low and the brightest part of the scene is near the horizon line— not at the top of the sky.
- What it does: Holds back that intense brightness at the horizon while letting the upper sky and foreground expose properly.
- What you’ll learn: How to handle extreme contrast, and capture a scene that reflects the real mood of the moment.
Why You Can’t Fully Replicate This in Post-Processing
Sure, you can “recover highlights” in Lightroom — but only to a point. When you’re already overexposed, detail is gone forever.
Graduated filters help you get it right in-camera, preserving full detail and tonality in both sky and land — with more natural results and less digital noise.
Practice This in the Field
On my workshops, you won’t just hear about these filters — you’ll use them in real-world light conditions:
- We’ll shoot sunrises over lakes, dramatic skies over mountain ridges, and golden sunsets on the coast.
- I’ll guide you on how to stack filters, compose with the grad line, and choose between hard, soft, medium, or reverse GNDs depending on the scene.
- You’ll learn by doing, with personal guidance and time to experiment.
This Is the Art of Light Control
These filters aren’t just accessories — they are creative tools. Knowing when and how to use them is part of mastering natural light, and it’s something that AI simply cannot teach or replace.
You need to be there. To feel it. To see it.
And that’s exactly what we’ll do — together.
Ready to Experience It Firsthand?
Join me on one of my upcoming photo workshops and learn how to use ND filters in the field — not just as a technical skill, but as a tool for storytelling and expression.
Let’s slow down time, together.